


Hi! I'm Chelle and this is the 97' International 7.3 school bus I spent a year converting and getting to the point I could re-register it as a motorhome in Texas. When possible I reused what I already had or could find on craigslist. I salvaged wood and other materials myself when I came across them and purchased everything else a little at a time as I needed and/or could afford.


The bus is wired to run off either campground hook-ups or gas generator. It's set-up for boondocking without a generator as well. For camping off-grid I have solar lights, solar hot water, a propane cook burner, propane Mr Buddy heater, woodstove, Coleman outdoor oven and a BBQ grill. At campgrounds I plug into shore power, and only need 30 amps to run the large roof mounted a/c unit. I use my dorm refrigerator, crock pot, toaster oven, electric hot plate, coffee maker, lamps, fans, heated blanket, electric heater, and Coleman roof top air conditioner.


The peace sign I painted on the storage box is symbolic of how long I've wanted to do this. I've been dreaming about traveling the country in a converted school bus since I was a kid and a magnificent smoke belching, monstrosity of crazy colors and peace signs pulled into the gas station next to us. I was fascinated both by the bus and the young people inside. A girl with flowers in her hair saw me gawking at her. She hopped out smiling and handed me me the biggest most perfect peach I had ever seen. I questioned Dad for the next few miles as I ate my peach. He said they were "hippies". From what I gathered 'hippies' didn't have real jobs or houses, preferring instead to live in a bus, like they were camping all the time, just going wherever they want. I doubt it was his intention but the whole lifestyle sounded 'right on' to me! I decided I wanted to be a hippie and live in a school bus!


I wanted my bus to feel like a tiny home. I kept all the windows. The cuttains hang on cables the length of the bus, and I've sewn magnets into the sheers to easily toss them up and move around. I use a vintage potty I picked up at an antique fair, for midnight 'emergencies'.


I picked up a used cabinet, replaced the damaged top with plywood, and covered the stains on the doors with color, then covered the whole thing a dark walnut to get a look liked.

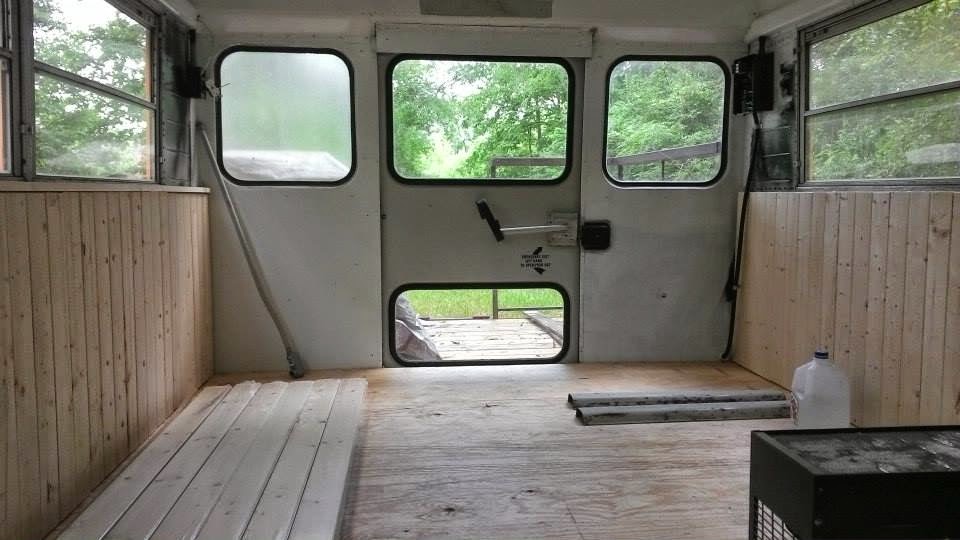


My carpentry skills matched my budget - both 'light', so I was mindful to keep my design simple, and serious carpentry work minimal. I used 3/4 insulation board and 1/2" construction grade plywood for the floors. The walls were insulated and finished with pine plank wainscoting.


Awesome deck right? Well it was illegal. With some help I cut it down. It's safe, legal, and there is still enough room to swing the back door open all the way, store a generator, etc. The rails can be removed for loading, and gate drops down to use as steps.


The electrical was already done, which was the part of the conversion I had the most concern about. It had low miles, a new Coleman rv air conditioner insalled, all but 4 seats had been removed, it had a large rear deck, new tires, and string lights. The ceiling was spray painted black and a brand new refrigerator which reeked of cinnamon schnapps! I'm sure she was destined to be a party bus before I got her.


